Software
According to numerous test reports on the Web, the scanning software that comes bundled with the SlideScan scanners does a rather lousy job. Hence I didn't even bother to run it even once -- I just installed it in order to make sure all required hardware drivers were properly set up for the scanning software of my choice: VueScan. I went for this program mainly for three reasons:
1. It also runs under Linux -- although in this particular case I had to use it under MS Win7 since VueScan relies on the manufacturer's drivers (which, "of course", are not available for Linux) to talk to the SlideScan. (It will, however, be very useful for accessing our flatbed scanner under Linux.)
2. It supports infrared-based automatic dust and scratches removal.
3. It supports color calibration.
With great power comes great confusion, though -- and here's with which settings for (some of) VueScan's numerous options I finally came up with:
Input options
- Media: One might be tempted to go for the "Slide film" option, but the VueScan user's manual states that in that case the software will attempt to make the scanned image look "comparable to the original scene that was photographed". But since I want the scan to look comparable to the slide itself, I went for the plain "Image" media type. (Anyway, I didn't see much of a difference between scans done with these two settings.)
- Bits per pixel: Since we want the highest possible color depth and automatic dust and scratch removal, I set this to "64 bit RGBI".
- Preview resolution: The lowest available resolution (417 dpi) is absolutely sufficient.
- Scan resolution: No question -- it has to be the maximum resolution of 5000 dpi.
- Number of passes: In order to reduce image noise, VueScan offers the option to scan the same slide multiple times; any noise should get averaged out when the individual scans get subsequently combined to the final image. However, it turned out that slides have a tendency to slightly alter their position between individual scans, leading to miss-alignment of the scans which finally results in shadow or ghost images visible in the final output. Hence I leave this setting at its default value of 1. (It's a pity the SlideScan scanner doesn't support mulit-sampling, which would allow for taking multiple samples for each pixel during a single scanning pass. Anyway, if one day I feel the need for noise reduction; I'll give some of the available post-processing algorithms a try.)
- Multi exposure: When selected, VueScan does an additional scan with prolonged exposure time in order to capture more details from the darker parts of the slides and selectively utilizes them when composing the final image. (In fact, with multi exposure, it seems that VueScan renders dark image parts darker than with single exposure while still preserving many details.) Although this option does immediately yield impressive results, it does severely distort the scans brightness distribution in comparison to the original slide. And since I chose the 16 bit raw format for output (see below), I recon there should be enough data in darker image areas even in case of a regular, single exposure.
- Lock exposure: Since I've calibrated the scanner with a IT8 calibration target slide (see below), which contains both pure black and pure white parts, I set the expsure to the value determined during calibration (1.25, in my case).
Crop options
I used auto cropping, which with its default settings worked absolutely flawlessly!
Filter options
I didn't use any of VueScan's filter except automatic infrared cleaning for dust and scratch removal.
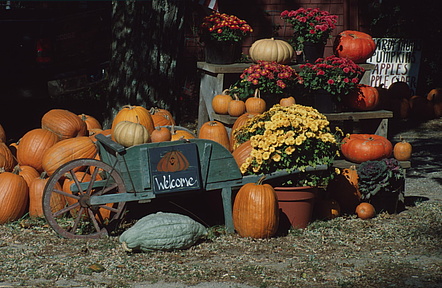
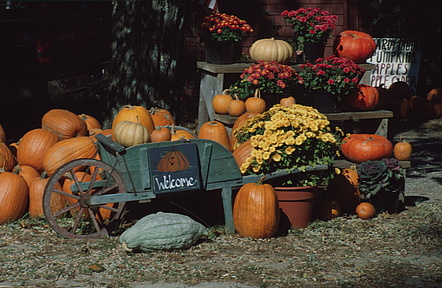
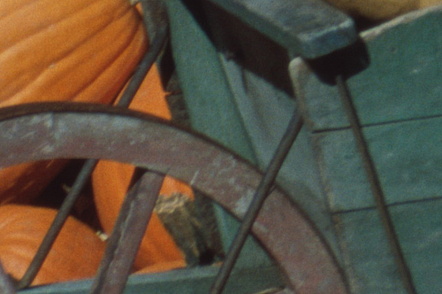
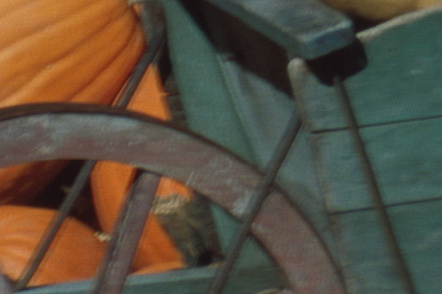
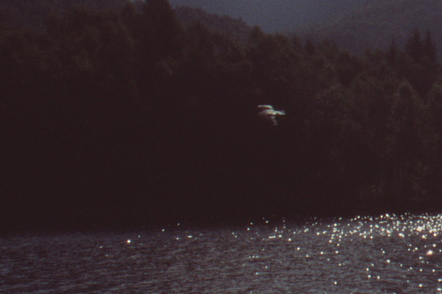
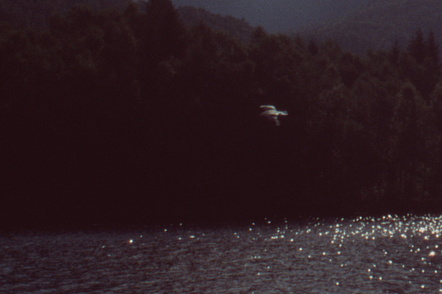
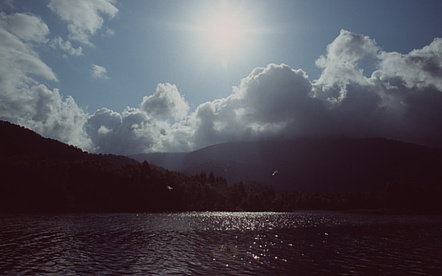
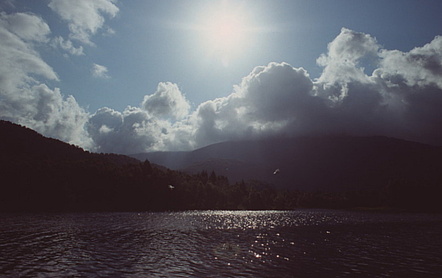
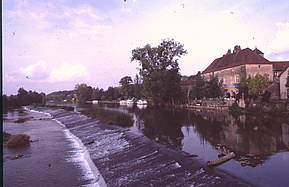
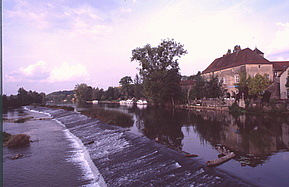
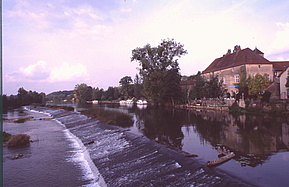
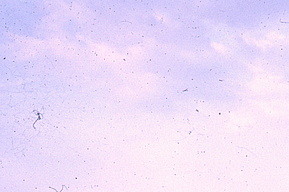
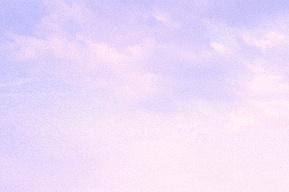
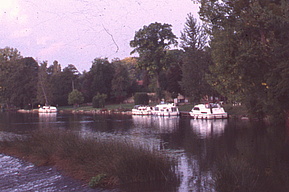
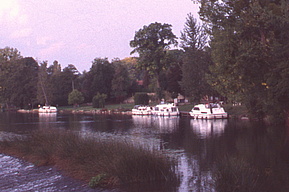
- Infrared clean: "Light" seems absolutely sufficient, although also higher settings seem to have no visible negative effect on image quality:


